
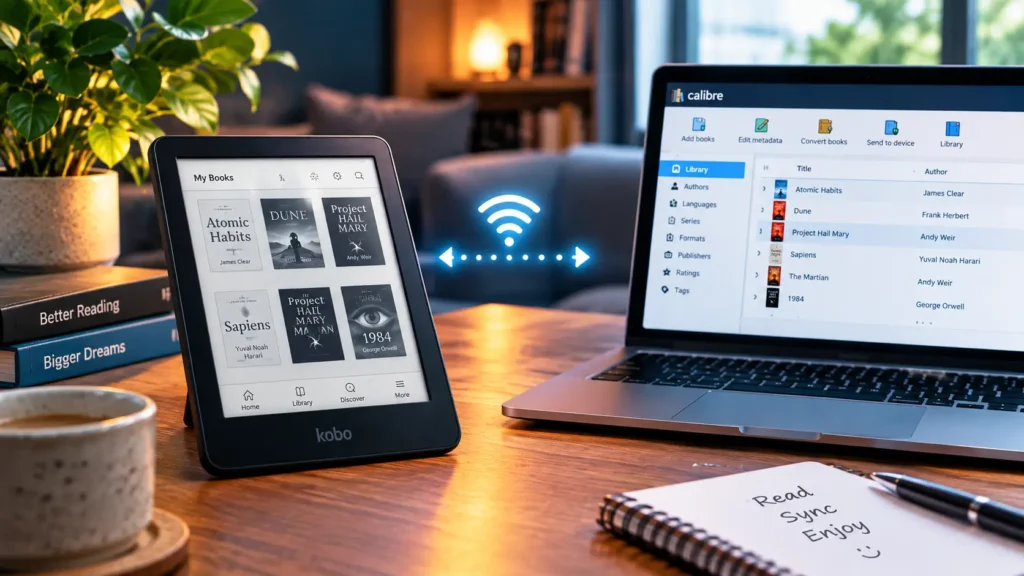
The first time I got tired of plugging my Kobo into a laptop just to drag over three EPUB files, I went looking for a way to connect Calibre to KOReader wirelessly instead — and that’s how I ended up sticking with KOReader for good. It’s a free, open-source reading app that runs on Kindle, Kobo, PocketBook, Android, and even Linux desktops, and it quietly replaces your device’s stock software with something that actually behaves the way a reader should: real PDF reflow, deep font control, a genuinely useful statistics tracker, and — the reason you’re probably here — wireless syncing with Calibre.
This isn’t a skim-it-in-thirty-seconds listicle. We’re going to walk through exactly how to connect Calibre to KOReader over Wi-Fi, get KOReader installed properly on Kobo and PocketBook hardware, sort out the firmware 4.17+ Kobo issue that trips up more people than it should, and clean up a few of the glitches that keep showing up in KOReader’s own bug tracker. For more guides like this one, you can stay updated right here on Nextbaseai.com.
In This Article
ToggleWhy Use Calibre Wireless Sync Over OPDS?
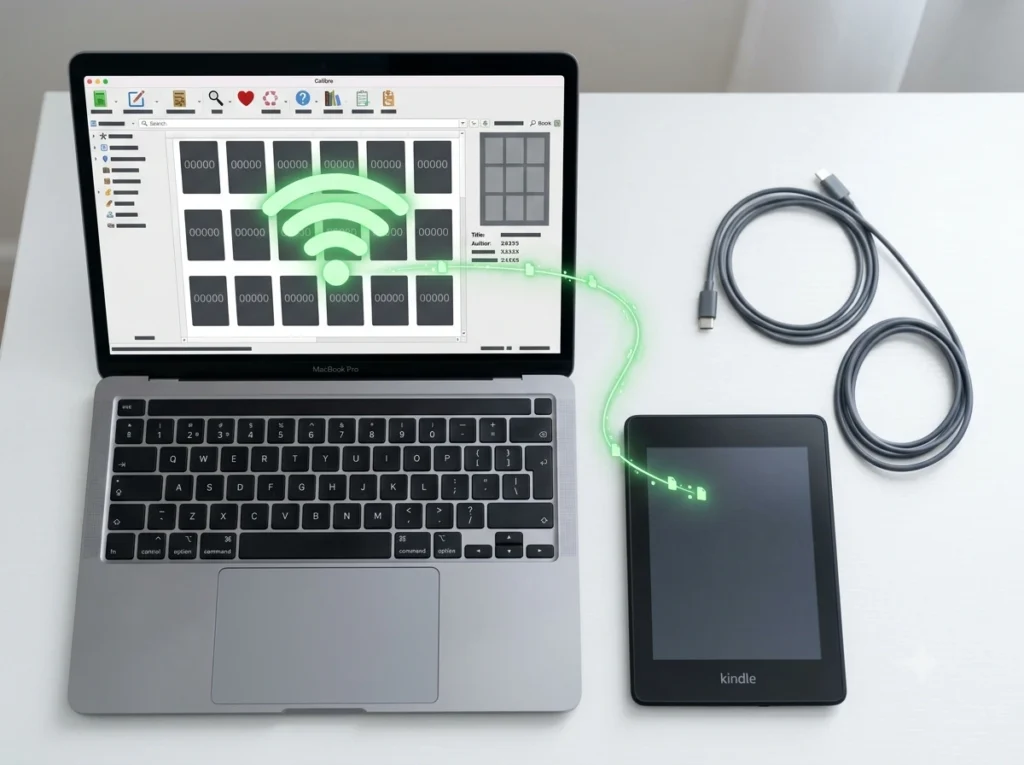
KOReader actually gives you two separate ways to talk to your Calibre library over Wi-Fi, and most guides blur them together like they’re the same feature. They’re not, and picking the wrong one for your habits is where a lot of people get frustrated.
OPDS (Open Publication Distribution System) turns your Calibre library into something browsable — you run Calibre’s Content Server, point KOReader’s OPDS catalog at it, and pull books down one at a time from the device itself, kind of like scrolling your own private online bookstore. It’s read-only. Calibre never pushes anything, and nothing you do on the device — progress, highlights, none of it — travels back.
Calibre wireless device connection works completely differently. Start it from Calibre’s desktop app, and your e-reader shows up inside Calibre exactly like it would over USB — a Device pane, a Send to Device button, the works. That’s a real two-way relationship:
You push books instead of pulling them. Select something in your Calibre library, hit Send to Device, and it lands on your reader over the network without you ever touching the device itself. Calibre can also see what’s already sitting on your Kobo, Kindle, or PocketBook, because the connection behaves like an actual device driver rather than a catalog feed. And with the right plugin installed on the Calibre side — more on that shortly — your KOReader progress and highlights can flow back into your Calibre database too, which is something OPDS was simply never designed to do.
Honestly, most people who stick with KOReader long-term end up using both. OPDS is handy for grabbing something new from bed without opening a laptop. Wireless connection is what you reach for when you’re doing a real batch transfer or actually want your progress synced. If you want to go deeper on squeezing more out of these settings, the Luminaria KOReader Settings Guide is worth a bookmark.
How to Connect Calibre to KOReader Wirelessly
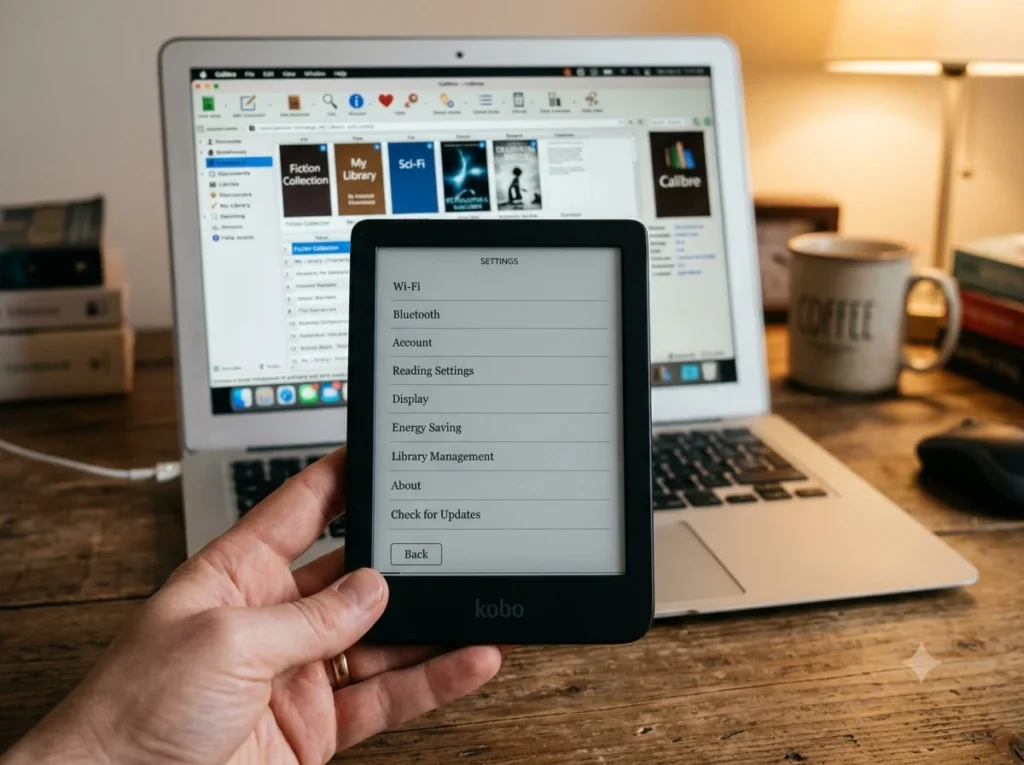
Here’s the core workflow. It’s the same whether you’re on a Kindle, Kobo, or PocketBook, assuming KOReader is already installed — we’ll get to installation in a minute.
Before you start, make sure of two things: Calibre is installed on your desktop (grab it from the Calibre Official Website if you haven’t already), and your computer and e-reader are on the same Wi-Fi network. Guest networks and “client isolation” settings on some routers will break this silently, so steer clear of those if you have a choice.
Open Calibre on your computer, click Connect/Share in the toolbar, then Start wireless device connection. The default settings are fine for almost everyone — don’t bother changing the port unless something else on your network is already using it. Now pick up your e-reader, open KOReader, and swipe down (or tap the top edge of the screen) to bring up the top menu. Go to Tools → Calibre, tap Wireless settings, and turn on Enable wireless client.
Leave the Server address set to Automatic for now — KOReader will try to find the Calibre server on its own through the local network. (If that fails, jump to the manual IP section below.) Back out to Tools → Calibre and tap Connect. The first time you do this, it’ll ask you to pick an inbox folder — long-press whichever folder you want incoming books to land in.
If it worked, you’ll see a message like “Connected to Calibre Server at [host]:[port]” on the device, and the red connection indicator in Calibre will turn green. Your reader now shows up in Calibre’s device list, same as if it were plugged in. Select a book, click Send to Device, and it transfers over Wi-Fi.
One thing worth knowing: if you’re sending a big batch of books and it feels like it’s crawling, step one folder up in KOReader’s file browser, away from the folder you’re importing into. KOReader was re-scanning that folder after every single book landed, and moving away from it stops that — the slowdown is especially noticeable on Android and older e-ink hardware.
If you want true two-way sync — your reading progress and highlights actually landing back in Calibre’s metadata — install a community plugin like KOReader Sync through Preferences → Plugins → Get new plugins in Calibre. Worth knowing upfront: these plugins mostly move data one direction (device to Calibre), and pushing metadata the other way only works for books that don’t already have a KOReader sidecar file on them.
Installing KOReader on Your Device
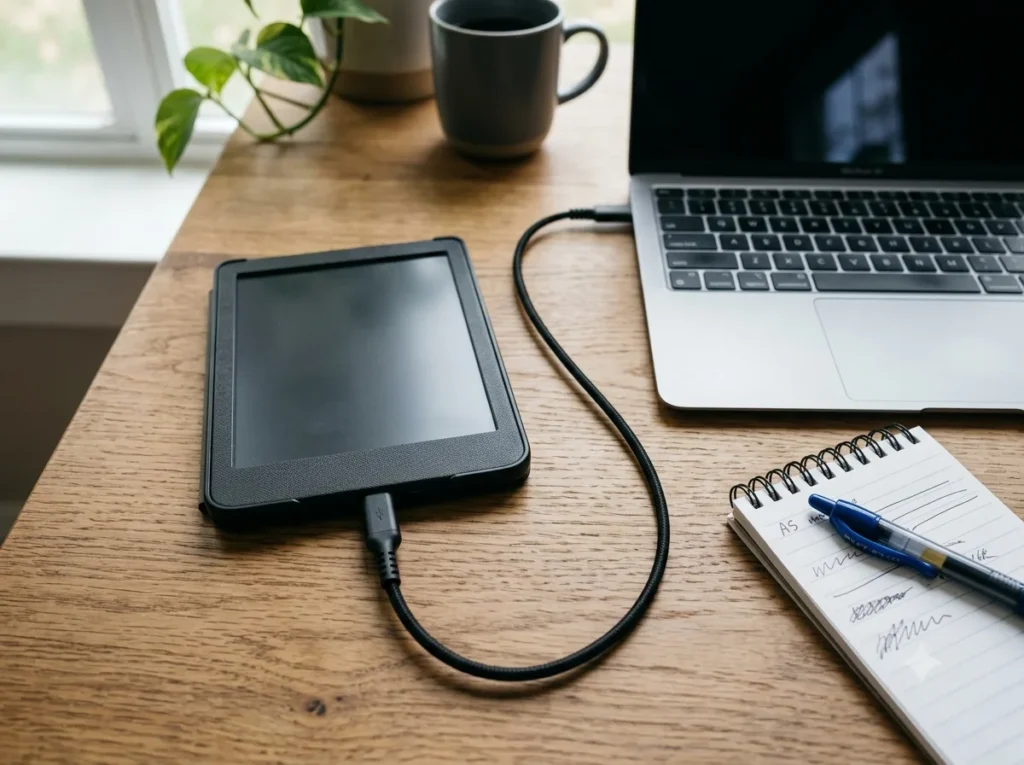
None of the above matters if KOReader isn’t on your device yet, and installation looks pretty different depending on who made your hardware. Here’s what each one actually involves, based on the current install documentation in the KOReader GitHub Repository.
Kobo: NickelMenu and the one-click package
Kobo devices need a launcher, full stop — Nickel, the stock software, has no built-in way to run outside apps. The two launchers you’ll run into are KFMon and NickelMenu, and for most people the simplest route is a bundled “one-click package” (OCP) that installs both together.
Grab the latest OCP-KOReader zip and the install script matching your OS — Windows gets a .ps1, Mac a .command, Linux a .sh — from the official one-click thread on MobileRead. Plug your Kobo in over USB and tap Connect when it asks. Extract the zip straight to the root of the device, not into a subfolder — use “Extract To” rather than dragging files over manually, since that’s how people end up with a broken folder structure. Before you eject, apply the firmware fix below. Once you do eject, Nickel will look like it’s processing a book, then reboot to apply everything. A new KOReader entry shows up in your Library or the Home screen menu afterward.
Prefer a leaner setup without KFMon? Download NickelMenu’s KoboRoot.tgz release on its own, drop it in the .kobo folder, and eject to trigger the install. After reboot you’ll see a NickelMenu entry, and you can wire up custom launch shortcuts by creating .adds/nm/config on the device.
The firmware 4.17+ fix almost every tutorial gets wrong
This is the one that trips people up. Since Kobo firmware 4.17, Nickel started indexing content inside hidden, dot-prefixed folders — and KOReader happens to live in one of those (.adds). Left alone, Nickel will scan and index every icon and internal file KOReader ships with, which floods your library with junk and can genuinely slow Nickel down.
The fix is telling Nickel to leave those folders alone. Open (or create) this file on your Kobo:
.kobo/Kobo/Kobo eReader.confUnder [FeatureSettings], make sure this line is there:
[FeatureSettings]
ExcludeSyncFolders=(\.(?!kobo|adobe).+|([^.][^/]*/)+\..+)
If you went with the official one-click package, this usually gets applied automatically, but it’s worth opening the file and checking — particularly if you updated your firmware after already having KOReader running, since an update can occasionally reset it. Do this check before your final eject.
PocketBook: no jailbreak needed
PocketBook is genuinely the easiest of the three. These devices run a Linux-based OS that natively supports installing apps into an applications folder, so there’s no jailbreak to fuss with.
Download the koreader-pocketbook release, connect the device over USB, and copy — merge, don’t overwrite — both the applications and system folders from the archive into the PocketBook’s USB root. Eject, let it restart, and from the home screen tap Apps, scroll to USER’S, and tap @koreader. If you’d like, go into the Gear icon → Device → Associate file extensions and choose which formats open directly in KOReader from your library. One tip: skip associating .svg or .log files specifically, since that ends up exposing a lot of KOReader’s internal working files in your regular home screen — not something most people actually want.
A couple of newer 64-bit PocketBook models, the InkPad One among them, need a separate installer build rather than the standard release package because of a different processor architecture. Worth checking the current wiki page for your exact model before you start.
PocketBook: no jailbreak needed
Kindle installation requires a jailbreak first, since Amazon’s firmware blocks third-party software outright. Once jailbroken, you install KUAL (Kindle Unified Application Launcher), unzip the koreader and extensions folders to your Kindle’s USB root, eject, and launch from inside KUAL. Jailbreak methods change constantly as Amazon patches firmware, so this is genuinely a “check MobileRead for your exact model right before you do it” situation rather than something a static guide should try to nail down. We’ll cover Kindle-specific glitches below.
Connecting KOReader to PC and Calibre (Manual IP and Port)
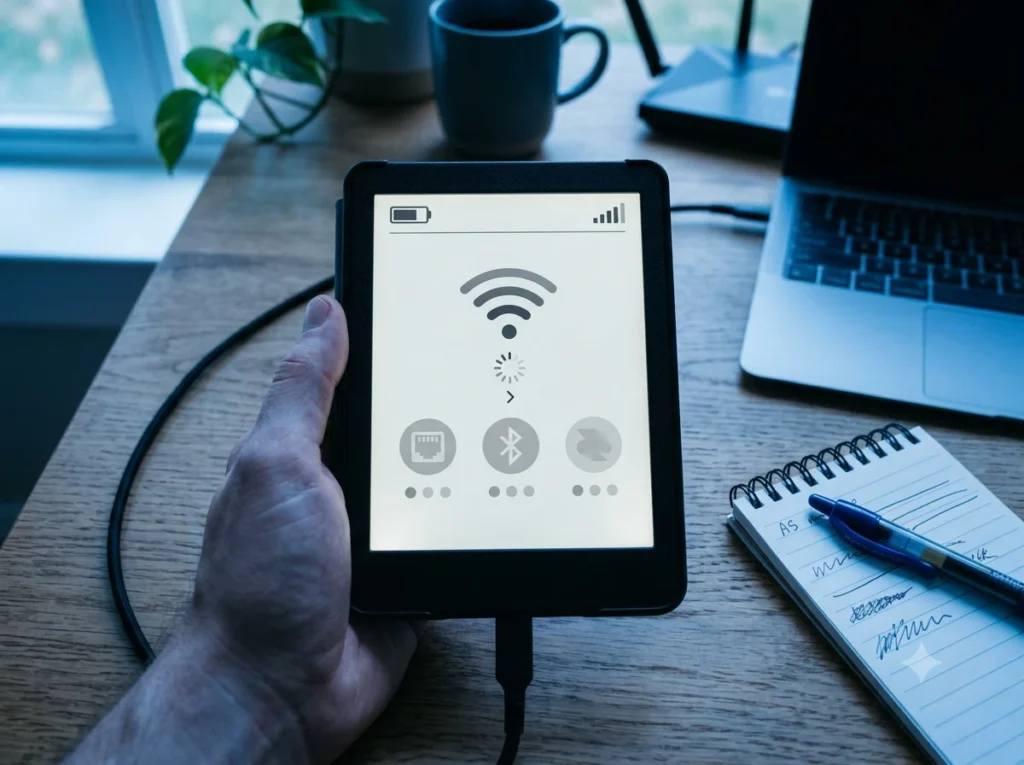
Automatic detection leans on network broadcast discovery, and that just doesn’t work on every router — some isolate devices from each other by default, some mesh or corporate networks block broadcast traffic entirely, and a VPN running on either device can break it without any obvious error. When that happens, going manual is the fix.
Start the wireless connection in Calibre as usual, and note the IP address and port it shows you — usually something like 192.168.1.141 on port 9090. It’s worth giving your computer a static IP or a DHCP reservation in your router settings so that address doesn’t shift every time the router reassigns things. On KOReader, go to Tools → Calibre → Wireless settings, switch Server address from Automatic to Manual, and type in exactly what Calibre showed you. Head back to Tools → Calibre and hit Connect.
Still not working? Check these in order: confirm you’re actually on the same subnet, not a guest network; check that your computer’s firewall isn’t quietly blocking that port; and if the connection keeps failing even though the IP pings fine from the device, try locking Calibre to a fixed port instead of letting it pick a new one every time — a shifting port is a surprisingly common cause behind “cannot connect to calibre server” errors that otherwise look inexplicable.
Troubleshooting Common KOReader Glitches
KOReader development happens completely in the open, which means almost every known bug is sitting on GitHub for anyone to read — that’s where the fixes below come from. If something here doesn’t quite match what you’re seeing, the MobileRead Forums KOReader subforum is usually your fastest path to a match for your specific device and firmware, since the community tends to find workarounds before an official patch ships.
The Kindle wallpaper folder that stops showing images. There’s a documented bug where, after you pick a folder for your custom sleep-screen wallpaper, the file picker gets stuck showing only folders — no individual images appear as selectable, even after restarting or rebooting the Kindle entirely. If this happens to you, try switching to the single custom image setting first, restarting KOReader, and then switching back to the folder-based option — that resets whatever internal filter state got stuck. Double-check your images are sitting directly in the folder you picked and not buried in a subfolder, since the picker handles nested paths inconsistently. It’s also worth confirming you actually grabbed the build matched to your specific Kindle generation, because a mismatched package is a common root cause of picker bugs according to the modding community. If none of that works, clearing just that menu’s settings (not a full wipe) and reselecting the folder from scratch tends to do it, based on current open reports.
The screen flipping sideways on wake. Some Kindle and Android users see KOReader come back from sleep rotated 90 or 180 degrees off, sometimes with touch input no longer lining up with what’s on screen. Start simple: open the bottom menu and manually cycle orientation back using the rotation icon — that alone fixes most one-off cases. If touch is still misaligned after that, back out to the file browser and re-open the book, since re-entering a document usually resets the touch mapping to the current orientation. Check Screen → Rotation and make sure “Lock orientation,” if it’s on, isn’t fighting the physical state your device thinks it’s in. If this happens specifically after charging from a fully drained battery, a full power-off and restart — not just sleep and wake — clears whatever framebuffer state is causing it. And keep KOReader updated; rotation handling on Kindle and Android has had multiple fixes land across recent releases, so an old build is often part of the problem.
PDFs rendering painfully slowly. Unlike EPUBs, which use KOReader’s own crengine text layout, PDFs get rendered page-by-page as images through the bundled MuPDF library — which is just inherently heavier on e-ink hardware, especially with scanned or image-dense documents. The single biggest lever is turning off text reflow for anything you’re not actually trying to reflow — the k2pdfopt engine that re-flows scanned text is genuinely useful for hard-to-read scans, but it’s computationally expensive and shouldn’t be left on for normal paging. Cropping page margins in Settings → Page crop also helps, since trimming white borders means less for MuPDF to rasterize on every turn. On older or slower hardware, dialing back the zoom slightly rather than always maxing out “Fit to width” makes a real difference too. Keeping KOReader updated matters here more than people expect — the developers have shipped underlying MuPDF library updates specifically aimed at rendering performance, so an outdated build is genuinely leaving speed on the table. And if one particular file is unusually slow, try temporarily turning off contrast adjustments, inverted color, or dithering settings, since stacking those on top of the base render adds overhead that’s easy to overlook.
How to Safely Uninstall KOReader
How you remove KOReader depends entirely on how it got there in the first place.
On Kobo, connect over USB. To remove NickelMenu, create an empty file named exactly uninstall inside .adds/nm/ and eject — NickelMenu detects that file and removes itself on the next boot. Delete the koreader folder from inside .adds/ to take the app and its data with it. If you installed through the one-click package script, running that script again usually offers an uninstall path that removes KFMon too. Back up first if any of your reading stats, highlights, or dictionaries matter to you — deleting these folders takes them with it, permanently. Eject safely and your Kobo goes straight back to launching Nickel.
On PocketBook, it’s simpler still: connect via USB, delete the koreader folder from inside applications (and its counterpart inside system, if one exists), eject, and restart. The @koreader icon is gone from Apps on reboot.
On Kindle, connect via USB and delete the koreader and extensions/koreader folders from the root directory. If you also want KUAL gone and the jailbreak itself reversed, treat that as a separate, more involved process specific to whichever jailbreak method you used — don’t try to bundle it with just removing KOReader.
Across all three, the order that keeps you safe is the same: back up anything you care about, remove the launcher entry first so the device stops pointing at KOReader, delete the application folder, and eject properly rather than pulling the cable — an interrupted eject mid-write is one of the more common ways people end up with a corrupted Kobo database and a forced factory reset.
KOReader takes a bit of upfront setup, but it pays that time back fast once Calibre’s wireless bridge is actually working — pushing a new book becomes as quick as a USB transfer, minus the cable. For more guides like this one, check back on Nextbaseai.com, and if you’d rather watch someone do the install steps live, Svartling Network E-Reader Tutorials has several device-specific walkthroughs worth watching.